
It’s awesome that you decided to create your online course and publish it on Teachlr.
Kinda lost? No worries, we’ll help you out. Pay special attention to these 5 tips and you’re off to a good start.
1. Camera
You can perfectly record your course with the integrated camera in your computer. We recommend using external cameras, such as webcams, handycams or photographic cameras.

Extra tip: Keep track of the recording space on your camera. We don’t want you to interrupt your shooting because your memory got empty.
2. Sound
You can also use the integrated microphones in your computer – however, we do not highly recommend them. If you want a better sound quality, it is preferable to use an external microphone. Your choice will depend on the place and style of your course. Are you shooting outdoors? Do you need to be moving around?
There are several types of microphones:
- Lavalier: Records very well despite of movement.
- USB: Directly connected to the computer and placed in front of the subject.
- Shotgun or Boom: Our favorite option. Records very well in short and medium distances. However, it does not work if the subject is constantly in movement.
- iPhone: The Voice Notes are great – just make sure the microphone is placed near your mouth.

Extra tip: Avoid any sound distorsions. To reduce the echo and any noise, you can place towels or sheets to cover the doors and windows, as the fabric absorbs any sound. Also, don’t forget to shut down your phone and air conditioner.
3. Recording softwares
Do you have a Mac or a PC? Depending on your computer, you need to choose the adequate program. If you have a Mac, our recommendation would be Screenflow – it allows you to record your image and your screen simultaneously, is very user friendly and quite complete. If you have a PC, we suggest CamStudio. In case you need to edit videos that were not recorded with your computer, you can use programs like iMovie and Final Cut for Mac, or Windows Moviemaker for PC. Adobe Premier is our favorite and works for both systems.
Extra tip: Check the RAM memory and the storage capacity of your computer.
4. Location
The place you pick must be quiet and visually pleasant. Most importantly you should be able to fully control it. Avoid places with tons of traffic and find a wide space where you can leave your equipment without any problem.
Extra tip: Make sure you have a neutral background. We don’t want your students to be distracted with super bright colors.
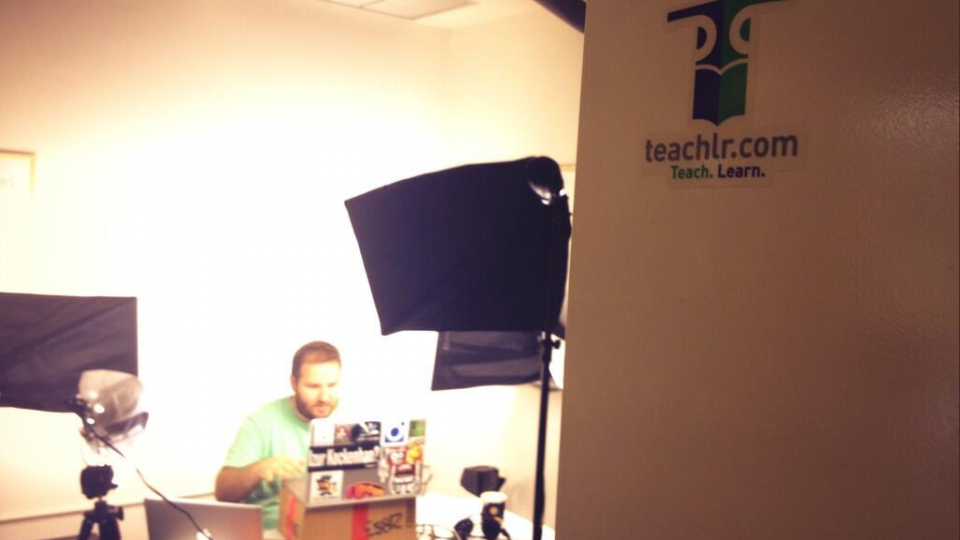
5. Lighting
You don’t need a fancy Hollywood equipment. You can use homemade lamps – the most important is that your face looks clear and without any unwanted shadows. Close the windows and curtains, so you can control all the light in the room. You can also use the natural light if you are recording outdoors. However, this is not our favorite option, as you cannot control the lighting as well as the sound.

Extra tip: If you’re going to use the natural light, remember that it changes throughout the day. Also, take into account whether it’s sunny or cloudy.
As you can see, you don’t need any professional production equipment to shoot your course. You can perfectly do it yourself from the comfort of the home.
See your course on Teachlr soon!


[…] Kinda lost? No worries, we’ll help you out. Pay special attention to these 5 tips to create your online course and you’re off to a good start. […]
[…] a shared appointment, sending a group email, or curating content, editing a promotional video or creating an online course. If it sounds too complicated, you try to find another way, or someone to do it for you. The […]
[…] Need more tips to create your online […]
[…] Learn how to create quality videos Teachlr en 5 tips for Creating your Online Course […]